

Moving your website to a new host can boost speed, security, uptime and overall performance. A poorly planned Website Migration, however, can result in downtime, broken pages, missing files, database errors or SEO problems. The good news is, with the right procedures you are able to move your website safely. Good preparation can make migrating a lot easier whether you are running WordPress, an eCommerce store or a custom-built website.
1. Prepare for Your Website Migration
Check that your new hosting plan is compatible with your site. Before you begin the Website Migration process, check if your new hosting plan can accommodate your website. Compare PHP versions, databased supported, disk space, bandwidth, SSL, server software and freebies. VPS Hosting is a great choice for websites that need additional dedicated resources.
Do not cancel your existing hosting account while migrating. DON’T CANCEL UNTIL THE NEW SITE IS TESTED AND DNS CHANGES ARE PROPAGATED.
2. Create a Backup Before Website Migration
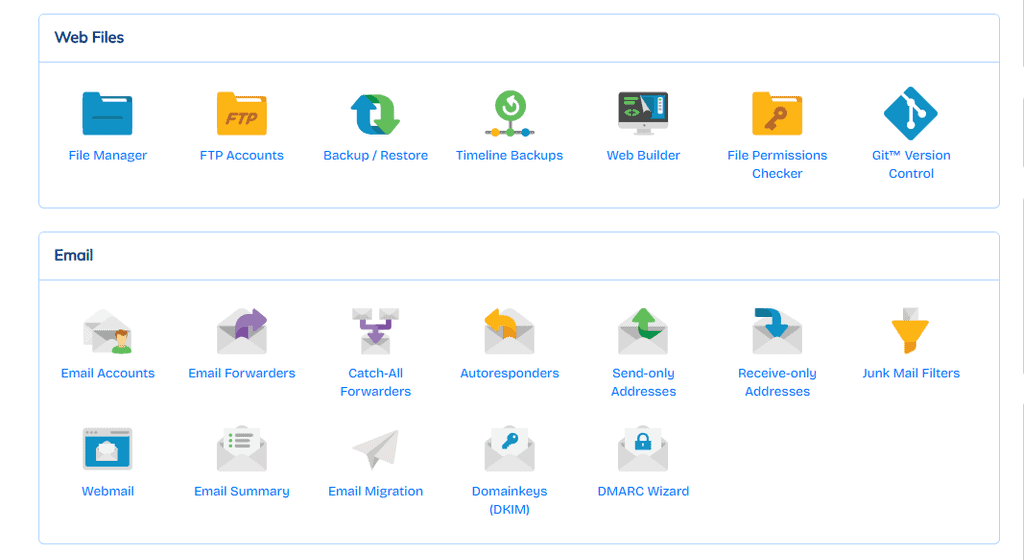
Doing a full backup provides you with a safety net in case anything goes wrong in the migration. backup web site files, data bases, e-mails, important config files.
Make sure to take a backup of the WordPress website files and database. The database contains important data like posts, pages, users, settings, orders.
And don’t forget to back up your DNS records, cron jobs, email settings and anything else you’ve customized. Save a copy of your backup somewhere other than your old hosting account.
3. Transfer Your Website Files
Once you have created a new hosting account you might want to upload your website files to the right document root. Try FTP, SFTP, File Manager, or migration tool from your host.
And if your website has hidden files (.htaccess) make sure to transfer all files correctly.
Upload files Check directory structure and file permissions Migration may result in errors such as missing files or incorrect permissions.
4. Export and Import Your Database
Websites with a database will have an extra step in the migration. Export your MySQL or MariaDB database from your old hosting server and import it to the new server.
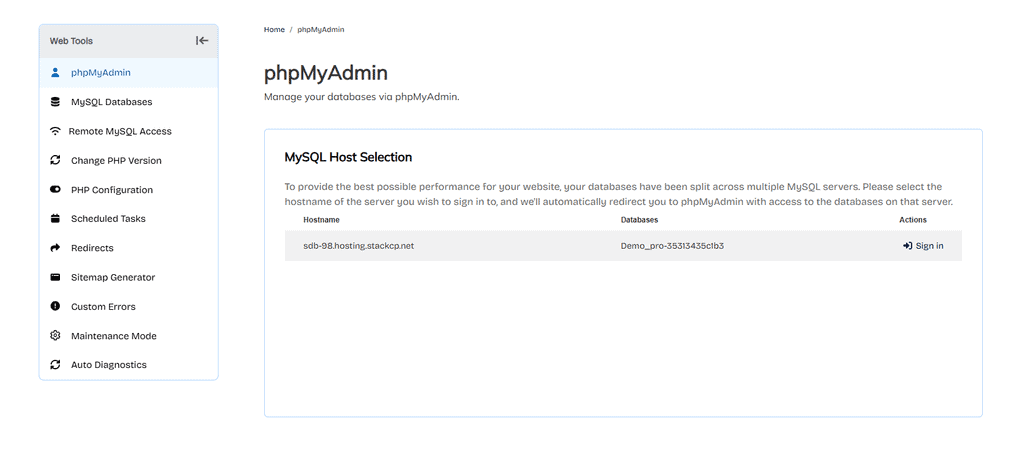
You can also use tools such as phpMyAdmin. Import the Database & change your database credentials in your website.
For WordPress, check the wp-config.php file for database name, username, password and database host. Some hosting providers have a database host name other than localhost so use whatever your new host gives you.
5. Test Your Website Before Changing DNS
One of the most important parts of a Website Migration is testing your new website before changing DNS.
The website is reachable on the new server by using a temporary URL, a preview URL or by editing the host file. Check out important pages and features.
Check your home page, menus, images, forms, log in page, search, redirects, plug-ins, themes and admin page. If you have an eCommerce website, test your cart, your checkout, your payment gateway, your order system and your customer emails.
Make sure to fix all the issues before you point your domain to the new server.
6. Install and Check SSL
Install an SSL certificate to your new hosting account before you change domain Access through https. Security Center Search
Also make sure your images, CSS, Javascript and other resources are served over HTTPS. If you’re moving your site from HTTP to HTTPS, make sure your redirects aren’t causing a redirect loop.
Having a working SSL Certificate will help keep your user data safe and build trust with your visitors.
7. Update Your DNS Records
When the new server is functioning correctly, update your domain’s DNS records.
Normally you would change the A record to point to the new server’s IP address. If you’re switching nameservers, change your existing nameservers to those provided by your new hosting company.
DNS can take some time to propagate. During this time different visitors may hit different servers temporarily. Do not cancel your old hosting account until the DNS changes are done.
8. Monitor the Website After Migration
Changing DNS is not the end of your work. Check the website for a few days, looking for broken pages, server errors, missing images, database problems, slow load times.
Check website analytics and search performance for any strange changes. Your XML sitemap, robots.txt, canonical URLs and redirects should be checked for any unnecessary SEO issues.
Website Migration Checklist
- Choose and configure the new hosting account
- Create a complete backup
- Transfer website files
- Export and import the database
- Update database credentials
- Install and test SSL
- Test the website before changing DNS
- Check forms, logins, and payments
- Update DNS records
- Monitor DNS propagation
- Check website performance and errors
- Monitor SEO after migration
- Keep the old hosting active temporarily
Common Migration Mistakes to Avoid
The biggest mistake is to change the DNS before you have tested the new server. If the migrated website has an error, visitors will straight away see a broken website.
Another common issue is forgetting about databases, email accounts, cron jobs, or custom config files. Just copying the website files might not be sufficient.
And don’t delete your old hosting account immediately either. It is a quick fallback in case of a serious problem developing on the new server to have it running.
Prepare a Rollback Plan
A rollback plan can help mitigate downtime if migration fails. Keep the old website running until you are sure that everything works properly.
If something goes wrong on a big scale after the DNS change you can always point the domain back to the old server temporarily whilst you fix the new install.
Pay special attention to new orders, registrations and other data created during the transition on eCommerce sites and busy platforms.
Conclusion
To migrate a website successfully you need to prepare, test and monitor well. Make full backups. Move your files and database the right way. SSL Certificate Installation All major features tested. Only change DNS when the new site is ready.
By keeping your old hosting account live while you switch, you also have a reliable backup. You can migrate your website to a new hosting provider with minimal disruption, and avoid unnecessary SEO or performance problems, with the right migration checklist and rollback plan.